How to set up an eSIM on iPhone in under 3 minutes — covers iPhone 15 and 16 series, QR code and manual methods, plus fixes for the most common install errors.
Settings › Cellular › Add eSIM › Use QR Code. That four-tap path is the fastest way to install, and on iPhone 15 or 16 running iOS 17 or 18, the whole process takes under two minutes. (Apple Support: Use an eSIM on your iPhone)
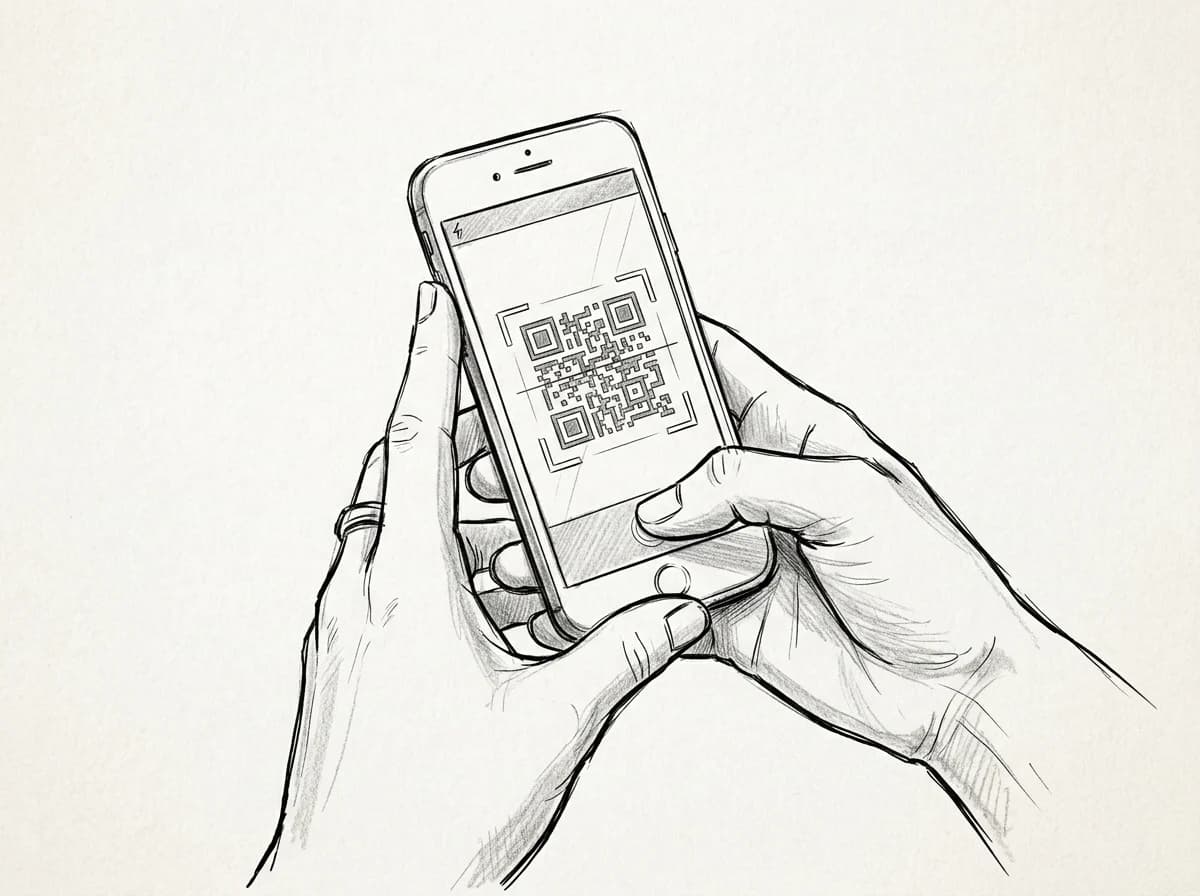
Open the Camera app and point it at your Roamfly QR code — a notification banner appears immediately. Tap it, confirm "Add Cellular Plan," and iOS handles the rest: profile download, carrier authentication, and line activation all happen in the background while you watch a progress bar crawl to 100% (Apple Support: Use an eSIM on your iPhone). Keep Wi-Fi on throughout; the download needs it.
Practical rule: Activate before you board, not after you land. Airport Wi-Fi at Charles de Gaulle or JFK is throttled enough to stall the profile download at the worst possible moment.
If the Camera app misses the code — glare, a cracked screen, a low-res PDF printout — use the manual entry method instead. Same destination, different road.
Which iPhones support eSIM — and what to check first
iPhone XS was the first to support eSIM — every model from there through the current iPhone 16 line works, covering six years of hardware. That's the easy part. The check that actually trips people up is carrier lock status.
A locked iPhone won't activate a third-party eSIM, full stop. Dial `*#06#` to surface your IMEI, then run it through your carrier's unlock checker or call their support line. If you bought your phone outright or finished your installment plan, it should already be unlocked — but verify before your departure day, not at the airport gate.
One model-specific wrinkle: iPhone 14 units sold in the US ship with no physical SIM tray at all. They're eSIM-only, which means you can carry up to eight stored eSIMs (two active simultaneously). (Apple Support: iPhone 14 eSIM-only models in the US) Every other supported model runs a hybrid setup — one nano-SIM slot plus eSIM capability. Knowing which you have changes how you manage your home number while traveling.
Apple's full compatibility table, including regional variants of the 13 mini and SE (3rd gen), lives at Apple's eSIM device list.
Manual entry: when your QR code won't scan
Squinting at your phone under airport fluorescents while a QR code refuses to scan is its own kind of travel misery. Every Roamfly eSIM order includes two credentials for exactly this reason: an SM-DP+ address (a long URL starting with something like `1.lpa.live...`) and an activation code (a 32-character alphanumeric string).
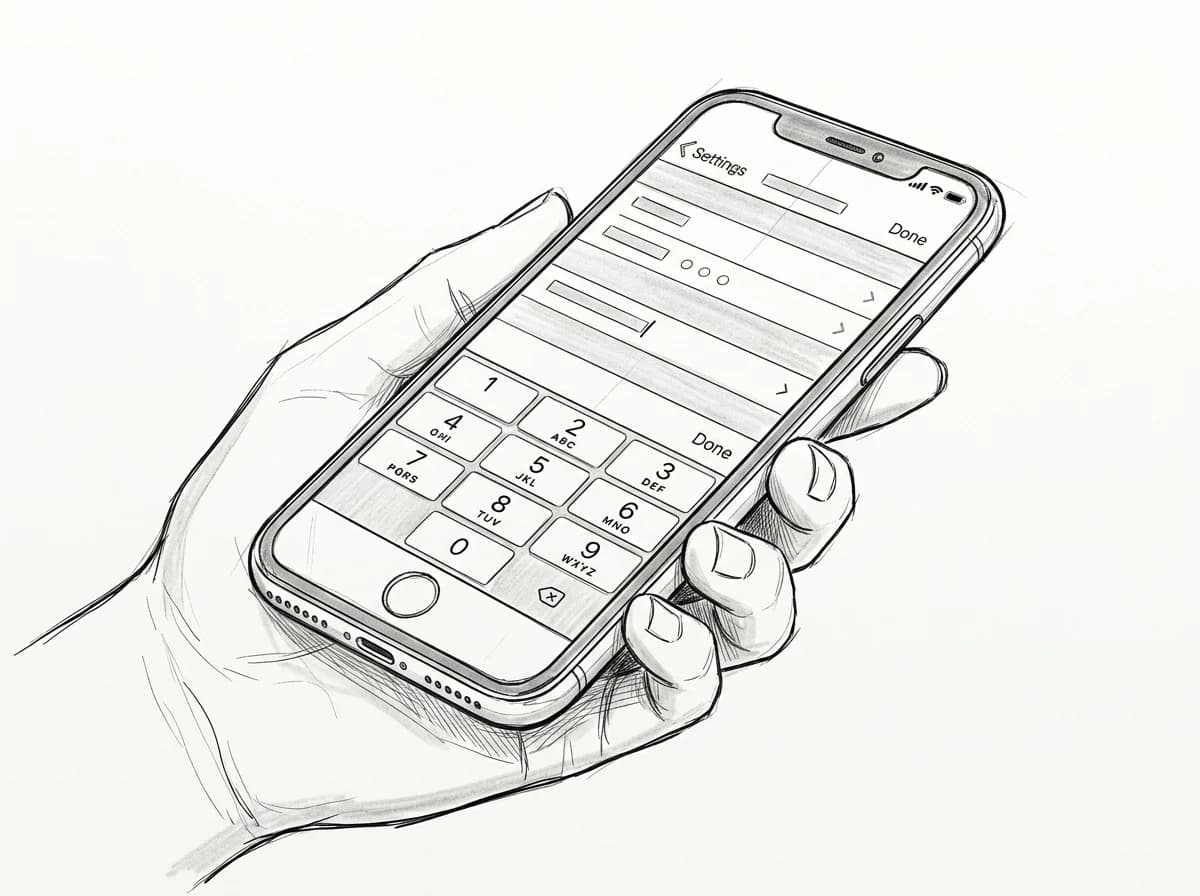
On iPhone, go to Settings → Mobile Service → Add eSIM → Enter Details Manually. Paste or type the SM-DP+ address first, then the activation code. Triple-check the activation code — a transposed character is the most common failure point, and codes are case-sensitive. Copy-pasting from your confirmation email beats retyping every time.
Both credentials arrive in your Roamfly order confirmation email, and the manual installation guide has a screenshot walkthrough if the menu labels differ between iOS versions. On iOS 17 and later the path is slightly relabeled but the fields are identical.
Add an eSIM via QR on iPhone
- Open Settings → Cellular → Add eSIM
- Tap "Use QR Code" and scan Roamfly's code
- Confirm the plan details on screen
- Label the plan (e.g., "Roamfly Travel")
- Toggle it as your data line when you land
Setting your eSIM as the active data line
Go to Settings → Cellular the moment installation confirms. You'll see both lines listed — your home SIM and the new travel eSIM. Tap the travel line, then tap Turn On This Line if it isn't active already.
Next, set it as your data source: back in the main Cellular screen, tap Cellular Data and select the travel eSIM. Then tap into that line's settings and switch Data Roaming on. Without that toggle, the line sits there silent.
Practical rule: While you're in Settings, tap your home SIM line and turn off iMessage and FaceTime — both services can trigger international charges through your carrier even when the home line isn't your active data source.
One more toggle worth hitting: Settings → Cellular → Cellular Data Switching. Disable it. With it on, iOS silently falls back to your home SIM if the travel eSIM signal dips — exactly the surprise bill you're trying to avoid.
Before you scan the QR code
- Confirm your iPhone is carrier-unlocked
- Connect to Wi-Fi — cellular not sufficient
- Check your iPhone model supports eSIM (XS or later)
- Verify you have an eSIM slot free (dual-eSIM limit applies)
- Update to the latest iOS version first
Practical rule: Set your travel eSIM as the default data line, then toggle iMessage and FaceTime off on your home SIM — not just Data Roaming. Leaving both on lets Apple silently route media messages through your home carrier at $0.50–$2.00 per MB. (Apple Support: Use two SIMs on iPhone)
Three fixes for the most common eSIM errors
Three failure states cause 90% of support tickets. (GSMA eSIM Troubleshooting Guidelines) Each has a fast fix.
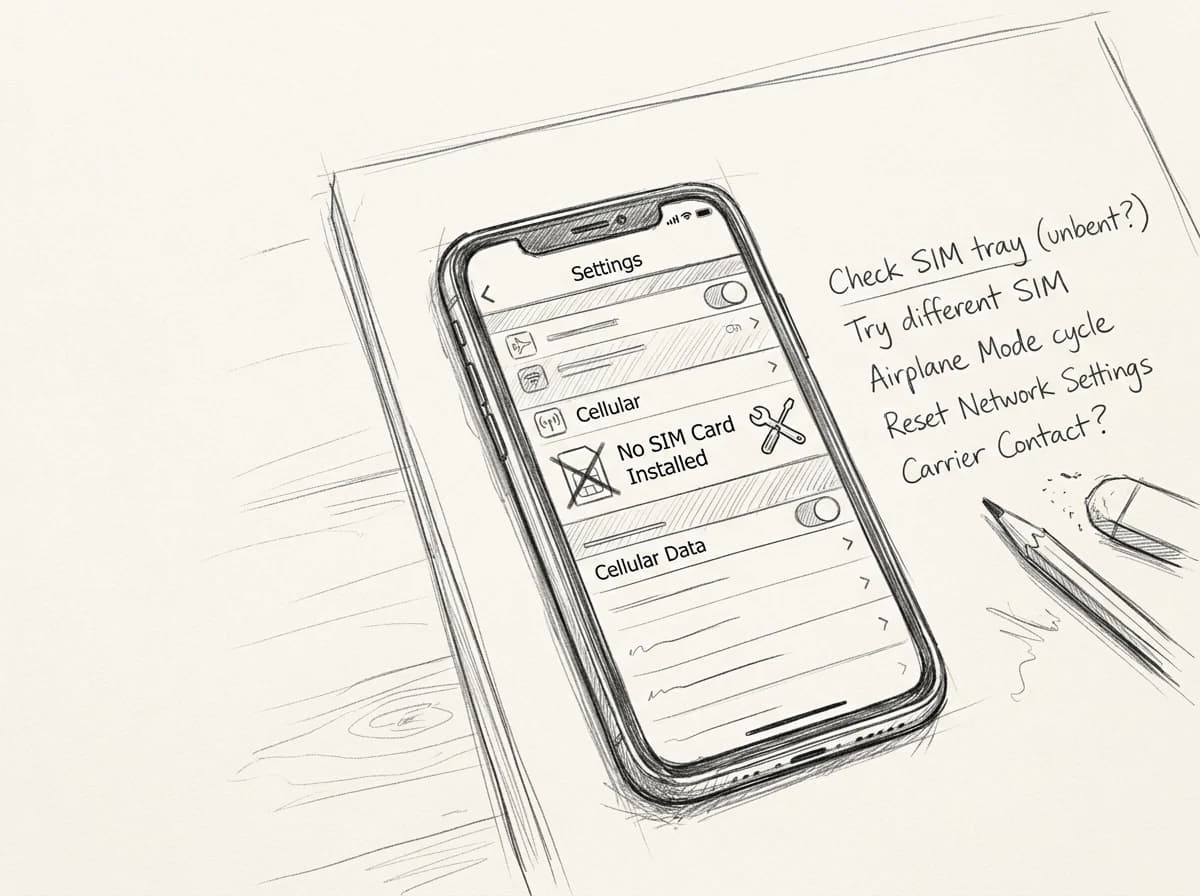
"Activation Error" on the QR scan. The code is single-use — if you accidentally scanned it before your trip or shared a screenshot, it's spent. Contact your provider for a replacement. While waiting, check that your iPhone isn't in airplane mode and that cellular data is on; iOS will silently refuse to activate an eSIM if neither radio is live.
No signal after install. The plan activated but shows "No Service." Restart your iPhone first — cold boot, not just lock screen. If the carrier row still shows no bars, go to Settings → Cellular → [your eSIM plan] → Network Selection, turn off automatic, wait 10 seconds, turn it back on. That forces a fresh tower handshake. For persistent no-connection issues, Roamfly's troubleshooting guide walks through APN settings by carrier.
Crawling speeds. Usually an APN mismatch. Check Settings → Cellular → Cellular Data Network and confirm the APN string matches exactly what your provider sent. One wrong character drops you to 2G fallback. Copy-paste, never type it manually.
Get connected before you leave
Knowing how to set up an eSIM on iPhone is only half the job — you still need a plan worth installing. Roamfly carries destination-specific options across 190+ countries, so whether you're heading to Shibuya, Seoul, Dubai, or splitting two weeks between Paris and Barcelona, there's a package sized to your actual itinerary rather than a round number someone guessed at.
Europe is a good benchmark: multi-country plans covering 30+ destinations start well under $20 and run up to 30 days, which beats buying separate SIMs at Charles de Gaulle and again at Barajas. For a deeper look at what's available region by region, the Europe travel plans guide breaks down coverage, data caps, and validity side by side.
Browse by destination, match the GB to your streaming and maps habit, then install the QR code before you board. Your phone is ready. The plan should be too.
Frequently asked questions
Does my iPhone need to be unlocked to use an eSIM?
Yes. A carrier-locked iPhone will reject any eSIM from a different provider. Check your lock status in Settings → General → About → Carrier Lock. If it reads 'No SIM restrictions', you're clear. If locked, contact your home carrier — most unlock devices after the contract period ends, often within 24 hours of requesting.
Can I install a travel eSIM before my trip and activate it later?
Yes, and it's the smarter move. Scan the QR code at home on Wi-Fi, which installs the profile instantly. The eSIM stays dormant until your phone connects to the destination carrier's network — typically the moment you turn off airplane mode after landing. No airport Wi-Fi hunting required.
Will my regular SIM still work alongside the travel eSIM?
On any dual-SIM iPhone (XR onward), yes. Set your home SIM as the Default Voice & SMS line and the travel eSIM as Cellular Data in Settings → Cellular. Calls and texts arrive on your normal number; data bills at the cheaper travel rate. Both lines run simultaneously.
Why does my iPhone show 'No Service' right after installing the eSIM?
The most common cause is the eSIM not yet set as the active data line — go to Settings → Cellular → Cellular Data and select the new plan. If it still shows No Service, toggle airplane mode on for 30 seconds then off. Carrier profile activation can take up to 3 minutes on first connection.
How do I delete an eSIM from my iPhone after my trip?
Go to Settings → Cellular → tap the eSIM plan → Remove Cellular Plan. The deletion is permanent; you can't reinstall the same QR code. If you're returning to the same destination, check whether your provider offers a reusable plan before removing it — some Roamfly plans support top-ups without rescanning.