Step-by-step guide to how to activate eSIM on iPhone before your trip — do it at home, skip airport Wi-Fi queues, and land with data ready to go.
Heathrow's Terminal 5 free Wi-Fi tops out around 8 Mbps on a crowded morning — fine for a boarding pass, not for downloading a carrier profile while 200 people queue behind you. Your home broadband doesn't have that problem.
Activating at home gives you time: time to troubleshoot a QR code that won't scan, time to confirm the profile installed correctly under Settings > Cellular, time to call support if something's off. Apple's own documentation flags that eSIM provisioning can require a stable connection and a device restart (Apple Support — Use eSIM on iPhone). Do that restart on your couch, not at Gate B47 with 20 minutes to boarding.
There's also a cost angle. If your physical SIM connects automatically the moment you land, your home carrier starts billing international rates — sometimes $10 per day before you've cleared passport control. An already-installed and tested travel eSIM, set as your default data line, cuts that window to zero. Understanding what a SIM actually does makes the two-line setup feel less abstract once you're configuring it.
Check your iPhone model and carrier lock status first
Every iPhone from the XS onward supports eSIM — that covers XS, XS Max, XR, the full 11 through 16 lineup, and every SE from the 2020 model forward. If your phone predates the XS, stop here; hardware eSIM support simply isn't there.
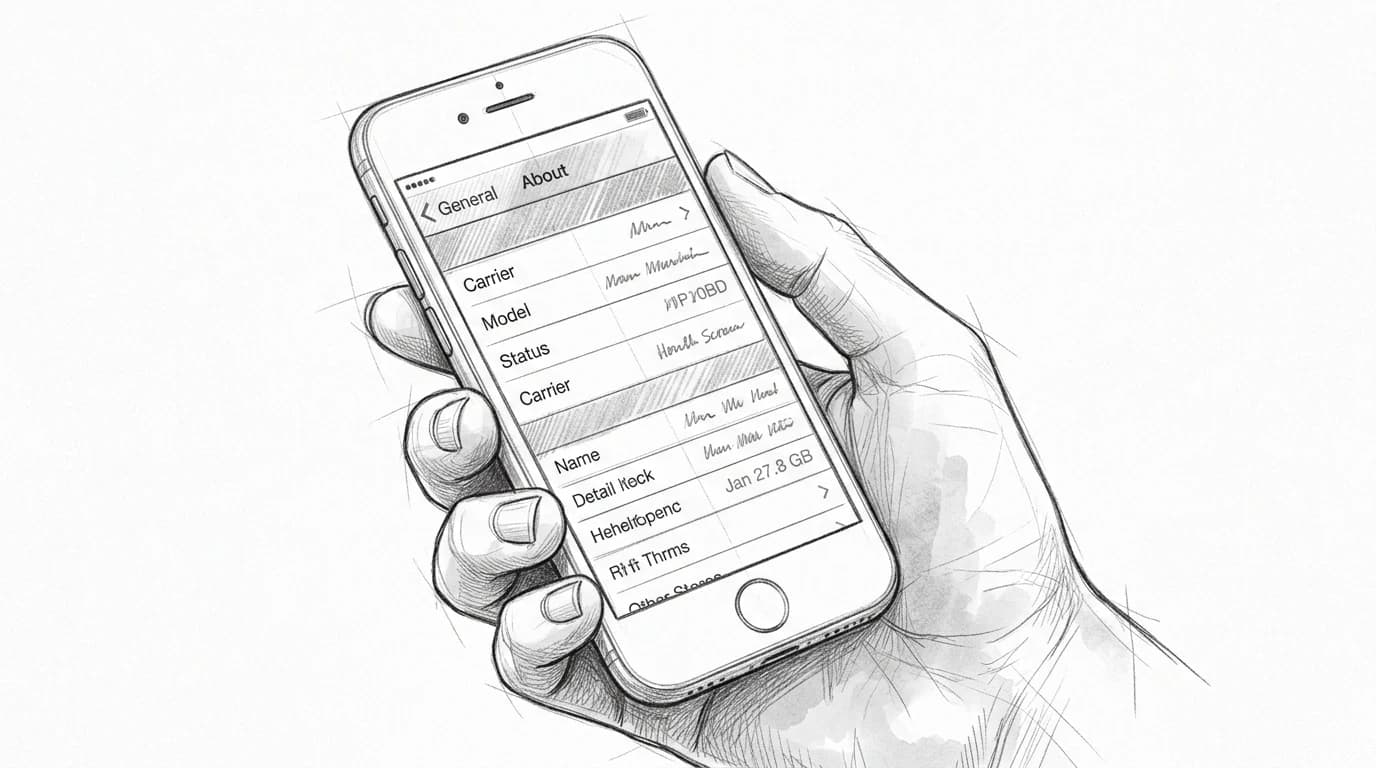
Carrier lock is the second gate. Go to Settings > General > About and scroll to "Carrier Lock." If it reads "No SIM restrictions," you're clear to install any third-party eSIM. If it shows your carrier's name, your phone is locked — a Roamfly eSIM won't activate until you contact your home carrier and request an unlock, which can take 24–72 hours depending on the operator.
Practical rule: Check carrier lock status at least three days before departure. A locked phone discovered at the gate has no fast fix.
The eSIM iPhone setup troubleshooting guide covers what to do if "No SIM restrictions" appears but the eSIM still fails to install — a separate issue tied to iOS version or QR scan errors. iPhone models that support eSIM are listed by Apple directly (Apple Support's eSIM compatibility page).
Practical rule: Confirm carrier unlock status before you buy any travel eSIM. An iPhone locked to AT&T or EE will reject a third-party plan at the install screen — no error code, no refund path, just a failed scan.
The exact steps to add and activate your eSIM before departure
Buy the plan, get the QR code, install it at your kitchen table — the whole process takes under four minutes on a reliable Wi-Fi connection, which you will not have at Charles de Gaulle.
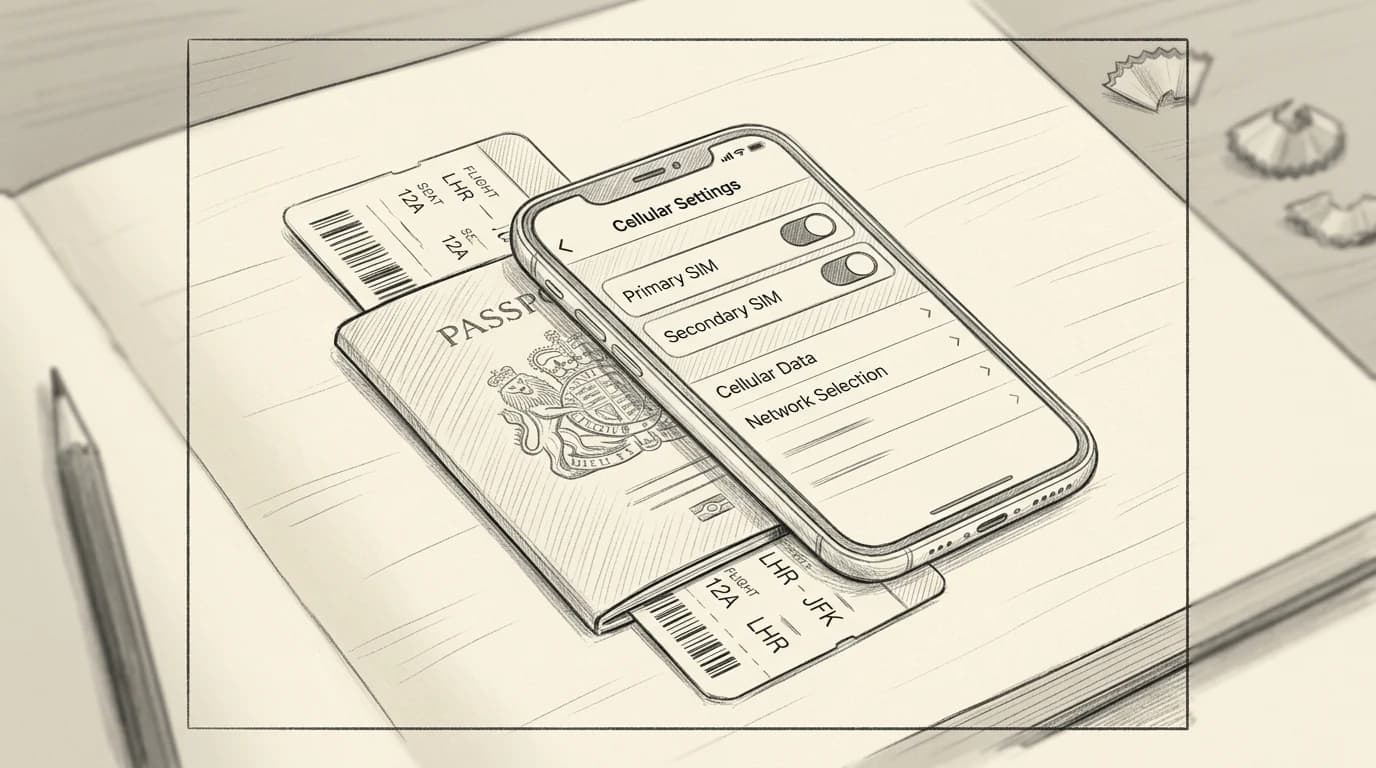
Open Settings > Cellular > Add eSIM. Your iPhone offers two paths: scan a QR code or enter a code manually. Point the camera at the QR code from your confirmation email, and iOS will recognize it instantly. If the code is buried in a PDF, the manual entry field accepts the same 26-character string.
Once the profile installs, iOS asks you to label the line. Name it after the destination — "Japan Trip" or "EU June" — so you can identify it fast when toggling in flight mode. Then set it to Off for cellular data; leave your home SIM as default until you board.
Practical rule: Complete the scan while connected to home Wi-Fi. Activation pings the carrier's provisioning server, and that handshake fails on spotty airport Wi-Fi more often than it should.
The full iPhone eSIM setup guide covers dual-SIM labeling and iOS 17-specific screens if any step looks different on your device.
Activate your iPhone eSIM before departure
- Settings → Cellular → Add eSIM
- Tap "Use QR Code" and scan the Roamfly code
- Label the plan "Roamfly" when prompted
- Keep the eSIM toggled off until you land
- Set data roaming on and choose the eSIM as your data line
Practical rule: Complete the full activation sequence — including setting your travel eSIM as the default data line — while still on home Wi-Fi. Skipping that last step means your primary SIM's roaming rate, not the travel plan, handles the first data request the moment you land.
Set data roaming and line defaults so nothing breaks mid-flight
Three settings cause 90% of in-flight confusion — and all three live in the same Cellular menu you just used to add your eSIM.
Open Settings > Cellular. Tap your primary carrier line and switch Data Roaming off. That one toggle is what stops your home carrier from silently billing you the moment the plane touches down in a country it doesn't cover cheaply. Then go back to the Cellular menu, tap Cellular Data, and select your new travel eSIM as the default data line.
iMessage and FaceTime are the traps most people miss. Both can fall back to SMS or cellular data on whichever line has signal first — often your home line. Go to Settings > Messages > Send & Receive and confirm your Apple ID is selected, not a phone number tied to the primary SIM. Mirror that check in Settings > FaceTime.
The GSMA's eSIM Consumer Guide flags misconfigured data-default settings as the leading cause of unexpected roaming charges on dual-SIM devices (GSMA eSIM Consumer Guide 2024).
Before you scan the QR code
- Confirm your iPhone model is XS or newer
- Verify your phone is carrier-unlocked
- Connect to home Wi-Fi before starting
- Have the Roamfly QR code open or printed
- Keep your physical SIM active for calls and texts
Get connected before you leave
Ready to get connected? Browse Roamfly's destination eSIM plans and have your QR code in your inbox in under 5 minutes.
Sorting out your settings at home — not at the gate — is the whole game. You've already confirmed your iPhone is unlocked, installed the eSIM, and locked down your data defaults; the only remaining step is choosing the right plan before your departure date closes the window.
Roamfly carries plans for over 190 destinations, from a 1 GB / 7-day option for a long weekend in Lisbon to 20 GB / 90-day regional packages that cover all of Southeast Asia under a single QR code. If you travel for work, the guide to eSIM for business travelers worldwide breaks down multi-country stacking, expense-friendly plan tiers, and what to do when a client dinner runs long in a city you didn't plan to visit.
Buy before you board. Activation can wait until wheels down — but having the QR code already in your email means zero scrambling at Charles de Gaulle or JFK.
Frequently asked questions
Which iPhone models support eSIM activation?
iPhone XR and XS onward support eSIM. iPhone 14 and later (US models) are eSIM-only with no physical SIM tray. To confirm your device, go to Settings → General → About → Available SIM — if you see an EID number, your iPhone is eSIM-capable. Carrier-locked iPhones require unlocking before a travel eSIM will activate.
Do I need Wi-Fi to activate an eSIM on iPhone before traveling?
Yes — eSIM provisioning downloads a carrier profile over the internet, so an active Wi-Fi or cellular connection is required during setup. Complete activation at home on your regular Wi-Fi network before departure. Once the profile is installed, it stays on the device and connects automatically in the destination country without any additional download.
What happens if the QR code scan fails during iPhone eSIM setup?
Check that the QR code is fully lit and your camera lens is clean, then try again from 8–12 inches away. If scanning still fails, use the manual entry option: tap 'Enter Details Manually' under Settings → Cellular → Add eSIM and type in the SM-DP+ address and activation code provided by your eSIM carrier. One-time-use codes expire after a single successful activation attempt.
Should I activate a travel eSIM before boarding or after I land?
Activate before boarding, ideally 24–48 hours before departure, while on home Wi-Fi. The eSIM profile sits dormant on your iPhone and locks onto the destination network the moment airplane mode is switched off after landing — no airport Wi-Fi hunt required. Activating at the destination risks connectivity gaps if QR delivery is delayed.
Can I use my physical SIM and a travel eSIM at the same time on iPhone?
Yes on any iPhone XR through 13, which support one physical nano-SIM plus one active eSIM simultaneously. Set your home SIM as the default for calls and SMS, then assign the travel eSIM as the cellular data line under Settings → Cellular → Cellular Data. iPhone 14 and later (US) carry two active eSIMs with no physical SIM slot at all.