eSIM iPhone setup errors explained — activation failures, QR code issues, no service after install. Fix each problem in under 5 minutes with this guide.
Most eSIM failures happen in one of five places: the carrier's activation server, your iPhone's profile manager, the QR code itself, the network handshake after install, or a hardware lock you didn't know existed. The error message rarely tells you which one.
Apple's own support documentation lists four distinct failure states for eSIM activation — "Activation Failed," "SIM Not Supported," "No Service," and profile install errors — and each points to a different fix (Apple Support — 'If you can't activate your eSIM'). Chasing the wrong solution wastes 30 minutes at a departure gate.
The five errors this guide covers: activation server rejection (usually a carrier-side timeout), a QR code that your camera won't parse, a profile that installs cleanly but registers no signal, an iPhone that rejects the plan because of a carrier lock, and a QR code that's already been consumed by a previous device or install attempt. Read how eSIM provisioning works on iPhone if any of those phrases are unfamiliar — the sections below assume you know the difference between a profile and a plan.
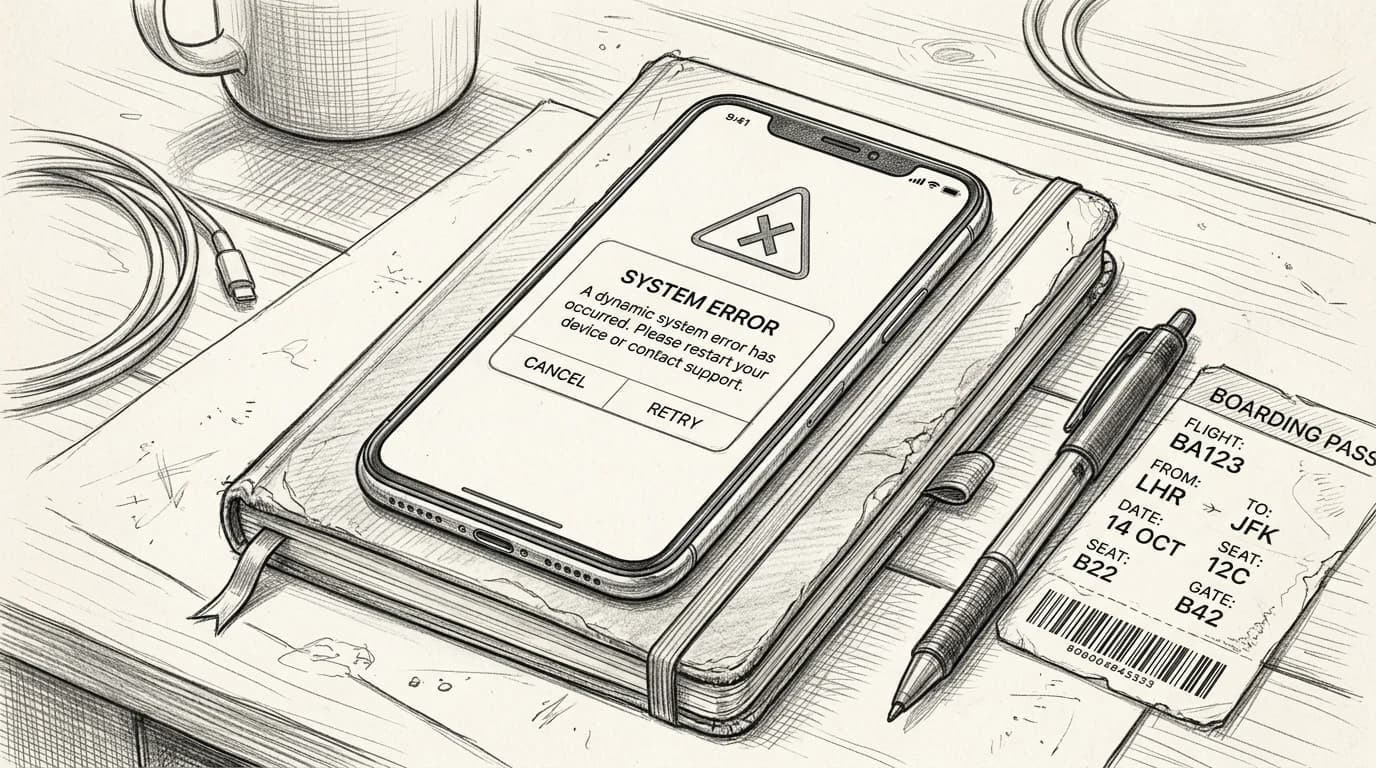
Error: 'eSIM Activation Failed' on iPhone
"Activation Failed" usually means one of three things: the device is carrier-locked, iOS is outdated, or the QR code has already been consumed.
Check iOS first. Apple requires iOS 12.1 or later for eSIM support, but several carrier features — including eSIM transfer and dual-SIM management — need iOS 16 or above (Apple's iPhone eSIM compatibility list). Go to Settings > General > Software Update and patch before you try again.
If iOS is current, verify the phone is unlocked. Dial \*#06# to pull your EID; if Settings > General > About shows no EID at all, the device doesn't support eSIM hardware. A visible EID but a failed activation almost always points to a carrier lock — contact your home carrier to confirm unlocked status.
Practical rule: A QR code is single-use. If you scanned it once and the activation failed mid-process, the code is spent — request a fresh one from your provider before attempting again.
The install path itself matters too. Use Settings > Cellular > Add eSIM > Use QR Code, not the camera app. For a full walkthrough, the eSIM activation guide for iPhone covers each screen in order.
Practical rule: Before requesting a replacement QR from your provider, check Settings > General > About > Carrier Lock. If it reads anything other than "No SIM restrictions", a new QR code won't fix the problem — carrier unlock has to happen first.
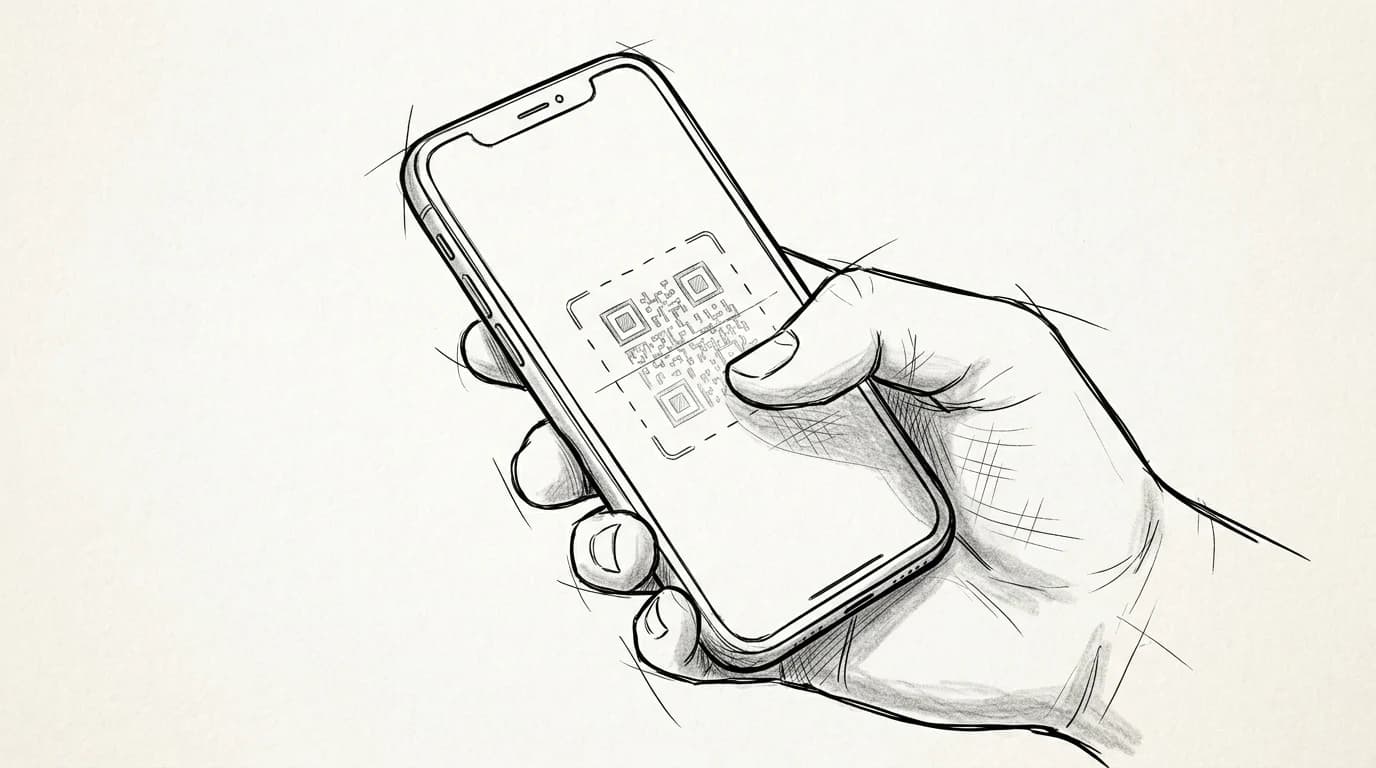
Error: QR code not recognized or won't scan
Your camera can't scan a QR code displayed on the same screen it's reading from. That's the most common cause of this error — people forward the Roamfly email to their phone, open it, and try to scan their own display. The camera needs to read a physical surface or a second screen.
If you're scanning from a laptop or tablet, distance and glare kill most attempts. Hold your iPhone 20–30 cm away, in even light, with the QR code filling roughly two-thirds of the frame. Direct sunlight washes out the contrast; a shaded desk works better than a window seat.
When scanning still fails, check whether the code has already been redeemed. Each QR is single-use — if activation started and then stalled, the code registers as consumed even if no eSIM landed on your device. Contact Roamfly support before trying again; they can reissue the credential without you burning a second purchase.
Manual entry is the clean fallback. In Settings, choose "Enter Details Manually" instead of scanning, then type the SM-DP+ address and activation code from your confirmation email exactly as shown — one wrong character blocks the install.
Before you scan the QR code
- Confirm iPhone is carrier-unlocked (Settings → General → About)
- Connect to stable Wi-Fi, not mobile data
- Check iOS is updated to the latest version
- Ensure QR code hasn't been scanned before — single use only
- Disable VPN before starting activation
Error: eSIM installed but shows 'No Service'
Three causes account for nearly every "No Service" screen: the profile activated before your physical location triggered roaming, a wrong APN, or Data Roaming sitting quietly off.
Start with the toggle. On iOS 17 and 18, go to Settings → Mobile Service → [your eSIM plan] → Data Roaming and confirm it's on. Then check Settings → Mobile Service → [your eSIM plan] → APN Settings — if the APN field is blank or shows your home carrier's string, the profile installed without the correct gateway address. Your carrier's confirmation email lists the right APN; paste it exactly.
Practical rule: Try airplane mode for 30 seconds before a full restart — it forces a fresh network registration in roughly 10% of the time a reboot takes. If you still see "No Service" after two cycles, restart fully and wait 3 minutes on the ground.
If neither fix works, the profile likely installed mid-flight before the destination network was reachable. Understanding what an eSIM actually is helps here: the profile is inert until a compatible tower handshake completes. Land, restart, wait.
Common errors at a glance
| Error | Most likely cause | First fix |
|---|---|---|
| Activation Failed | Wi-Fi or expired QR | Reconnect Wi-Fi, request new QR |
| QR Not Recognized | Camera too close or screen glare | Hold 10–12 inches away, increase brightness |
| Service after install | eSIM not set as data line | Settings → Cellular → set eSIM to primary data |
| SIM Not Supported | Device is carrier-locked | Contact original carrier to unlock |
Practical rule: If your eSIM shows "No Service" after landing, toggle Data Roaming on before restarting the phone. A restart without Data Roaming enabled reloads the profile in the same broken state — you'll loop the same error twice.
Error: iPhone carrier-locked or 'SIM Not Supported'
"SIM Not Supported" almost always means carrier lock, not a broken eSIM. Your iPhone is bound to the carrier that originally sold it — AT&T, EE, Telstra — and it will reject any profile from a different network until that lock is removed.
Check your status in under 30 seconds: Settings > General > About > scroll to Carrier Lock. If it reads "No SIM restrictions," you're clear. Anything else — "SIM locked," a specific carrier name — means you need an unlock before any eSIM will work (Apple Support — Check if your iPhone is carrier locked).
Unlock requests go to your original carrier, not Apple. Most US carriers unlock for free once your device is fully paid off and the account is in good standing; turnaround is typically 24–72 hours. iPhone 15 and later sold in the US are eSIM-only with no physical tray, but they still ship locked to the selling carrier — hardware-only doesn't guarantee software freedom.
Note: unlocked iPhones bought directly from apple.com ship SIM-free from day one.
Get connected before you leave
Ready to get connected? Roamfly's eSIM plans ship as a fresh QR code in under 5 minutes — no third-party codes, no recycled activations, no scan errors at the gate.
Most activation errors traced in this guide come from one source: a QR code that's been screenshot, forwarded, or partially redeemed somewhere along the chain. Roamfly generates a clean code at purchase, tied to your order alone, so the failure modes covered above simply don't apply.
Install it before you leave home, where your Wi-Fi is stable and you have time to confirm the plan shows up under Settings > Cellular. Trying to add a new eSIM at Charles de Gaulle on a shared terminal Wi-Fi is exactly where "eSIM Activation Failed" tends to reappear.
If you travel for work and manage multiple lines across trips, Roamfly's guide for business travelers covers profile management, dual-SIM labeling, and keeping your home number live while data runs on a travel plan.
Related guides
Frequently asked questions
Which iPhone models support eSIM?
iPhone XR and XS onward support eSIM. iPhone 14 and later (US models) are eSIM-only with no physical SIM tray. To confirm, go to Settings → General → About → Available SIM — if the option appears, your device is eSIM-capable. Check Apple's device compatibility page for the full list.
Does resetting network settings delete my eSIM profile?
No. On iOS, Settings → General → Transfer or Reset iPhone → Reset → Reset Network Settings clears Wi-Fi passwords and APN configs but leaves installed eSIM profiles intact. Deleting an eSIM is a separate, deliberate action under Settings → Cellular → the plan name → Delete eSIM.
Can I reinstall an eSIM if I accidentally deleted it?
It depends on the provider. Most carriers — including Roamfly — issue single-use QR codes that expire on first scan. If you delete the profile, you need a replacement QR from support. Contact the provider before deleting; reinstallation is not guaranteed and unused data may not carry over.
My QR code was already used — how do I get a new one?
Each Roamfly QR code is single-use by GSMA eSIM spec. If yours was scanned but the profile never appeared — common after a failed installation attempt — open a support ticket with your order number. A replacement QR is typically issued within 15 minutes during business hours.
Why does my eSIM show 'No Service' even though it installed correctly?
The most common causes are an incorrect APN setting or the data line not being set as the default. Go to Settings → Cellular → Cellular Data and confirm the eSIM plan is selected, not your home SIM. If the APN field is blank, enter the carrier's APN manually — Roamfly's is listed in the setup guide.