Learn exactly how to install an eSIM on Android — from checking compatibility to activating data abroad. Works on Samsung, Pixel, and most 2021+ flagships.
Samsung started shipping eSIM-compatible hardware in the Galaxy S20 line (Samsung Galaxy S20 eSIM support page), but "compatible hardware" and "working eSIM" aren't the same thing. The Galaxy S21, S22, S23, Pixel 3a and every Pixel since, OnePlus 12, and Motorola Razr 40 all support eSIM — provided they weren't sold in China or through a carrier that locked the slot (Google's eSIM API reference).
Two failure modes trip people up. Chinese-market variants of the S23 and Xiaomi 13 ship with eSIM hardware physically disabled to comply with local regulations (GSMA eSIM technical specification and regional deployment notes) — no software update reverses that. Carrier-locked US units (common with Verizon prepaid and some T-Mobile device-payment plans) may block third-party eSIM profiles until the device is fully unlocked.
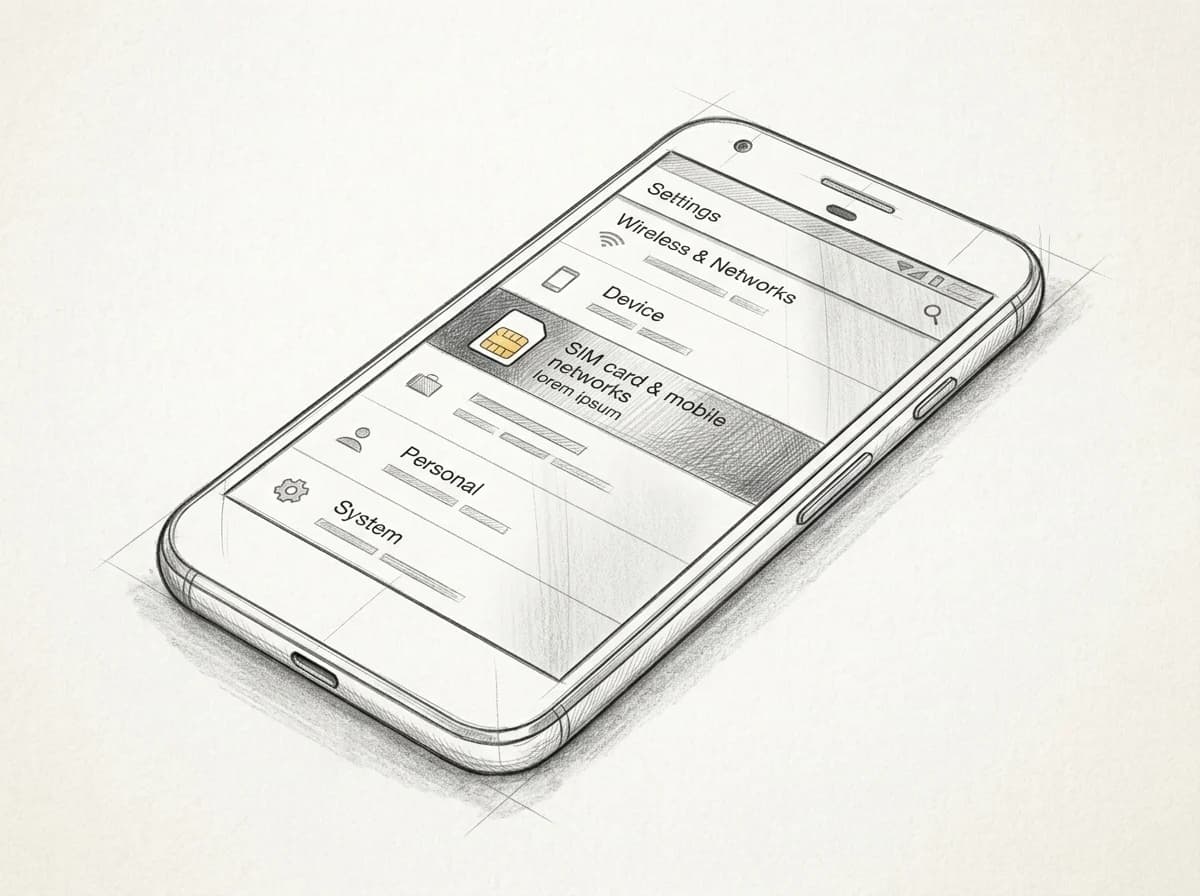
Practical rule: Go to Settings → Connections → SIM Manager. If "Add eSIM" or "Add mobile plan" appears, your phone is ready. No option visible? Call your carrier before buying any plan.
Check the slot status before you spend anything on knowing how to install an eSIM on Android.
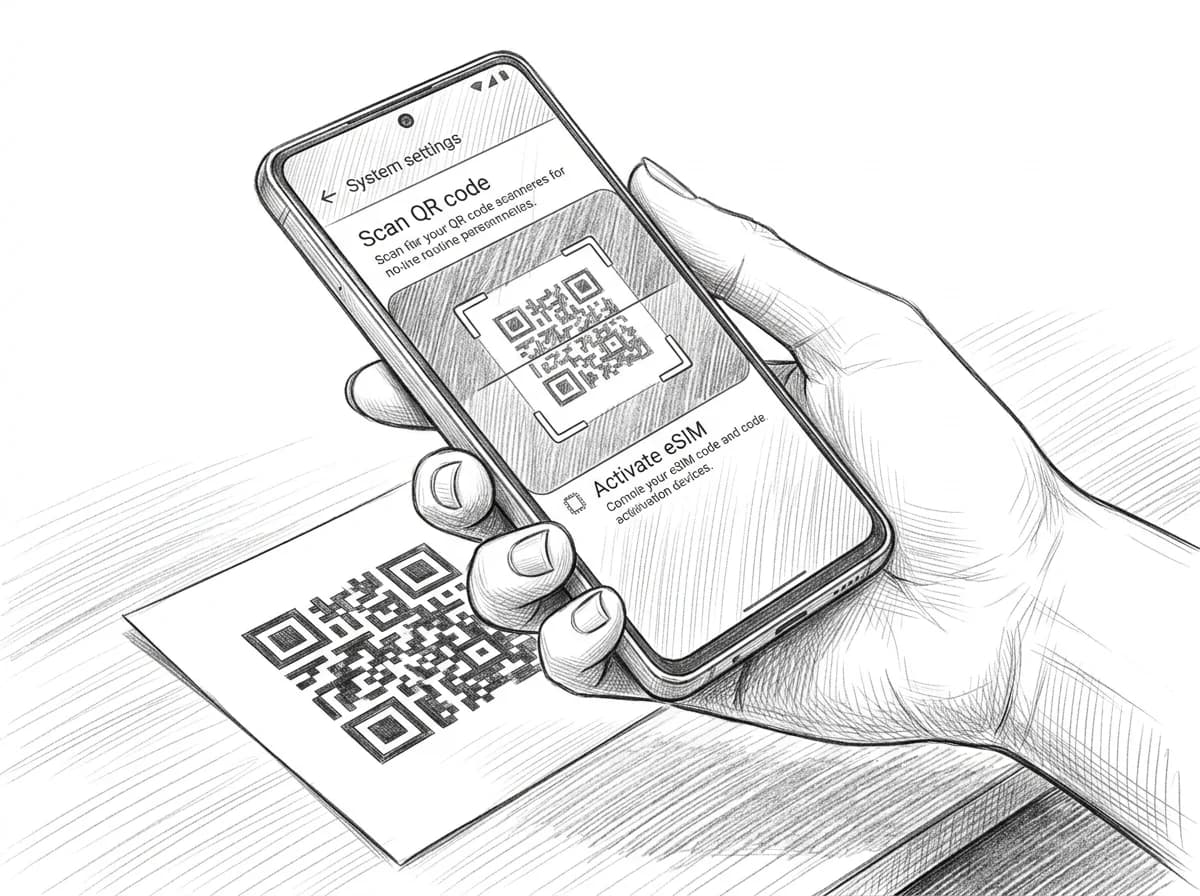
How to install an eSIM on Android: the QR code method
Pull up your QR code on a second device — your phone's camera has to read it, so it can't live on the same screen you're scanning from.
Samsung One UI (Galaxy S23 and later): Settings > Connections > SIM Manager > Add eSIM > Scan QR code. Samsung's own documentation confirms this path works across One UI 5 and 6 (Samsung's eSIM setup guide).
Stock Android (Pixel 7 and later): Settings > Network & Internet > SIMs > Add eSIM > Scan instead. Two taps fewer than Samsung's route.
Practical rule: If the camera fails after three tries — glare, screen angle, low-light — skip to manual entry. Most eSIM providers include an activation code as a fallback in the same confirmation email.
Once the QR scan succeeds, Android downloads the profile automatically. The process takes under 60 seconds on a stable Wi-Fi connection. Don't switch off Wi-Fi mid-install; a dropped transfer can corrupt the profile and force a re-issue from your provider. ✓
Practical rule: Open the QR code on a laptop or print it before you start installation — Android's camera can't scan a QR displayed on the same screen it's scanning from. Trying to screenshot and scan locally will stall the process every time.
Installing via activation code if you can't scan the QR
The QR code method breaks the moment your eSIM confirmation email arrives on the phone you're trying to activate — you can't scan your own screen. Manual entry is the fix.
On most Android phones (Samsung, Pixel, and OnePlus included), go to Settings → Connections → SIM manager → Add eSIM → Enter activation code. Xiaomi buries it one layer deeper under SIM cards & mobile data. You're looking for two fields: the SM-DP+ address (a URL like `rsp.truphone.com`) and the activation code itself (a long alphanumeric string). Both live in the same confirmation email — the SM-DP+ address is usually labeled "Server address" or "SMDP address."
Some carriers skip the QR entirely and only send codes, particularly budget MVNOs and regional operators in Southeast Asia. If your provider does this, manual entry isn't a fallback — it's the only path. Copy both strings carefully; a single transposed character will throw an `Error 2.4` and stall the install.
Paste, don't type. Long-press the SM-DP+ field on Android to paste directly from your clipboard and cut the risk of a typo.
Install an eSIM on Android: 5 steps
- Open Settings → Network & internet → SIMs
- Tap "Add eSIM" or "Download a SIM instead?"
- Scan the Roamfly QR code from your confirmation email
- Name the plan (e.g. "Roamfly Travel") and confirm download
- On arrival, set the eSIM as your active data line
Setting your eSIM as the active data line after install
Installing the profile is the easy half. Routing your data through it is where most people stall.
On Samsung (One UI 6+), go to Settings → Connections → SIM manager → Data SIM and tap your new eSIM profile. Then open the same profile's detail page and toggle Data roaming on — it defaults off. On Pixel (Android 14), the path is Settings → Network & internet → SIMs, tap the eSIM, set it as Preferred SIM for data, then enable Roaming. Two separate taps either way; missing the roaming toggle is the single most common reason a freshly installed eSIM shows "connected" but loads nothing.
Keep your physical SIM active for calls and SMS if your plan needs it — there's no reason to remove it. Just make sure Data is not set to "ask every time" on Samsung, which will prompt you on every app launch and drain patience fast.
Headed to Spain? Roamfly's 7-day Spain plan pairs cleanly with this setup — activate data roaming once and you're covered across the peninsula.

Before you scan: quick compatibility check
- Confirm your device model supports eSIM
- Verify your phone is carrier-unlocked
- Stay on Wi-Fi during the entire download
- Restart if the profile download stalls
- Keep your QR code email open and unscaled
Get connected before you leave
Four destinations, four direct links — pick the one that matches your departure gate.
Roamfly's UAE eSIM works the moment you clear Dubai International, no SIM-swap fumbling at the arrivals hall. South Korea, Vietnam, and Spain each have dedicated plans sized for a typical 7–10 day trip, with QR codes that arrive in your inbox within minutes of purchase — the same QR you now know exactly how to scan.
The install process you just learned works identically across all of them. Same four steps. Same settings path. Different country, same two-minute setup.
Pick your destination, grab the plan, and scan the QR before you board. Your phone handles the rest at 35,000 feet.
Frequently asked questions
Which Android phones support eSIM in 2025?
Google Pixel 4 and later, Samsung Galaxy S20 and later (unlocked models), Motorola Razr series, and most OnePlus flagships from 2023 onward. Carrier-locked budget Android devices often ship with eSIM disabled. Confirm at Settings → Connections → SIM Manager — if you see 'Add eSIM', you're compatible.
Why is the 'Add eSIM' option missing from my Android settings?
Three likely causes: the device is carrier-locked and eSIM is disabled at the firmware level, the handset is a regional variant without eSIM hardware, or you're running Android 9 or below. Carrier-locked phones require an unlock request — contact your home carrier with your IMEI before your trip.
Do I need Wi-Fi to install an eSIM on Android, or can I use mobile data?
Wi-Fi is strongly recommended. The eSIM provisioning download is typically 1–3 MB, but the SM-DP+ server handshake can time out on congested mobile connections (GSMA SGP.22 RSP Technical Specification). Scan the QR and complete installation at home or in an airport lounge before you clear customs — not at the gate on 2G roaming.
Will my physical SIM still work after I install an eSIM on Android?
Yes. Android treats the physical SIM and eSIM as two independent lines. Go to Settings → Connections → SIM Manager and assign each line a role: keep your home SIM for calls and SMS, set the eSIM as the default data line. Both stay active simultaneously on any dual-SIM Android.
How do I delete or switch between eSIM profiles on Android?
Settings → Connections → SIM Manager → tap the eSIM profile → choose 'Disable' to pause it or 'Delete' to remove it entirely. Deletion is permanent — the QR code cannot be re-scanned on most carriers. If you need to switch countries, disable the current profile rather than delete it, then add the new one.